Basics of Food Preservation
I have been, or can be if you click on a link and make a purchase, compensated via a cash payment, gift, or something else of value for writing this post. Regardless, I only recommend products or services I use personally and believe will be good for my readers.
Many thanks to a special guest contributor today. Yvie is sharing an overview of food preservation with us. This is something I do in spurts, but need to do more often. (Note ~ this post does contain affiliate links.)
“Home canning puts the pleasure of eating natural, delicious produce at your fingertips year-round.”
 First, if you can, take your children to gather, or buy, the food you want to preserve. You want to preserve the freshest fruits and vegetables. That means using what is in season and, when possible, using local produce. A good u-pick farm or farmer’s market should offer the local and fresh produce you want.
 Snap the beans, pit the cherries, slice the fruits & veggies… The children can do some of these things, but follow behind them (eg, be sure all the cherries got pitted). Make sure that they have clear instructions and budget extra time. We usually do these tasks the afternoon / evening before our big canning day.
 "Pin on Pinterest")
 You need to look at what you’ve got to preserve and then create a game plan. Not everything is meant for canning. The cute little watermelons we’ve been growing are perfect for a single-serving, but not preserving. Whenever possible, though, we can, dehydrate, and freeze. Here are some of the advantages and disadvantages of each…

Dehydrating
- Advantages: Dried fruits take up considerably less space and are ideal for hiking / camping since they are a fraction of the weight. Dried vegetables can also be added to soups and casseroles in the wintertime when fresh produce is not in peak season.
- Disadvantages: Nutritionally speaking vitamins A and C will be destroyed by the heat and air during this processing. Water is necessary for making most items usable in future recipes.
 A few years ago, I picked up a dehydrator for a song at an estate sale, and then found several additional trays and accessories the following week at Salvation Army. God really wanted me to have a food dryer! We have used it excessively, preserving anything and everything. My husband even makes jerky with it every winter!
 After trying three or four different brands of dehydrator, the Nesco is definitely my favorite. It works very quickly and effectively, puts out minimal heat and noise, and has various accessories, such as the fruit roll-up trays and mesh inserts for smaller foods.


Freezing
-
Advantages: Freezing is one of the top preservation methods to protect nutritional value. Using frozen produce can be huge time saver in a crunch. Just add frozen veggies to a casserole or stir-fry for a quick dinner, or use defrost frozen fruit for a quick dessert. Nutritious and quick!
-
Disadvantages: Freezing expands the food’s natural water, and can result is ruptured cell walls and a softer texture when thawed. Additionally, there is some research that thawing will also degrade vitamin C, so go ahead a cook your veggies frozen or toss some frozen fruit into a smoothie for a healthy treat.
 Freezing is super easy. The fruit was cut into small slices and frozen on a pan, then transferred into a large freezer bag. This helps prevent the fruit from sticking together and turning into one large lump. The vegetables took a bit longer, since they needed to be blanched (dropped in boiling water for a couple of minutes) first and then frozen the same way. The kids can help with freezing and drying, but I only let them watch the canning process.
 "Pin on Pinterest")

Canning
-
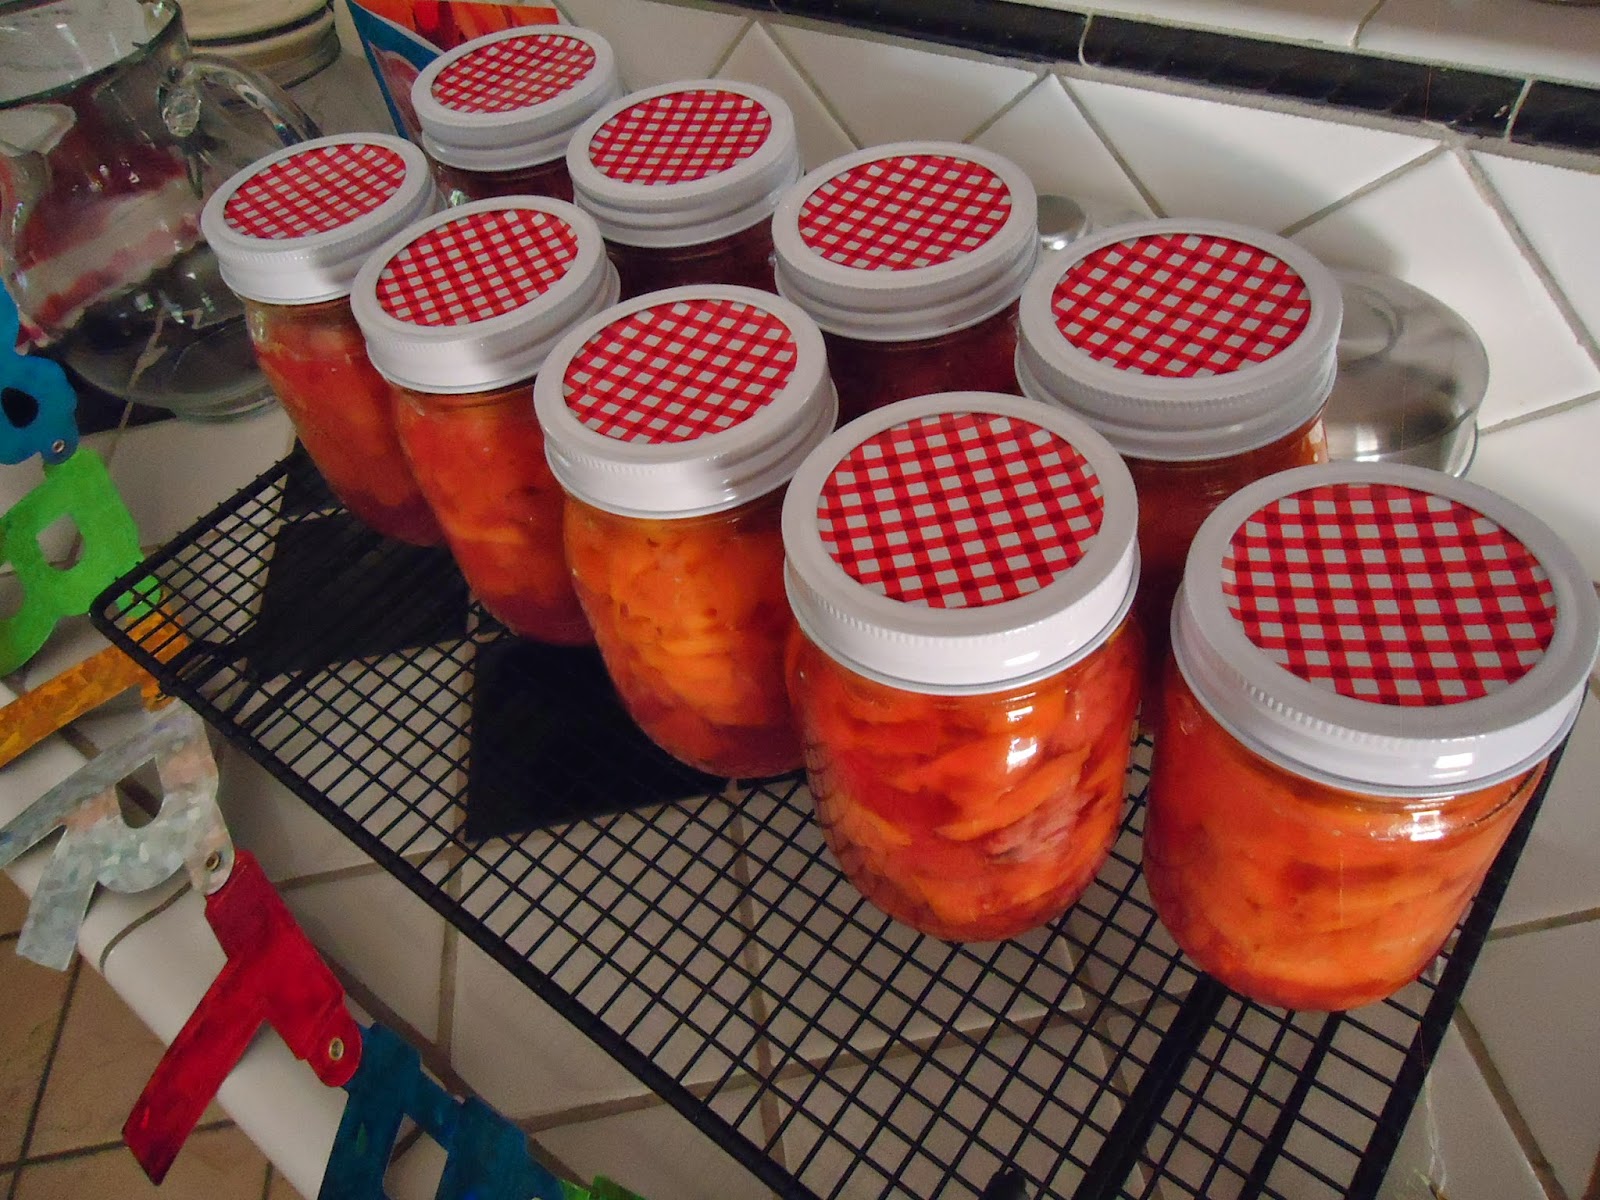
Advantages: Fruits and vegetables can make tasty gifts, provide year round decoration and may be the main ingredient in your pizza or pasta sauce. Almost all fruits and vegetables can be canned, but for low-acid vegetables, pressure canning is the safest method to reduce the risk of botulism, a type of food poisoning associated with canned foods.
-
Disadvantages: The process of pressure canning usually involves first heating the food product to destroy bacteria and then placing food in a sterilized container. The contents are then sealed by using high heat to generate pressure that causes steam to push the remaining air out of the cans. Unfortunately, these are steps that cannot be skipped and both heating and boiling result in loss of water-soluble nutrients. Commercial canning usually involves even more processing and can lead to further nutrient loss.


 "Pin on Pinterest")
- The Gardener & free unit study
- Pick Your Own (site gives specific preservation instructions for many types of produce)
- Homestead Blessings: The Art of Canning
- Homesteading for Beginners Volume Two
- Homesteading for Beginners Volume Three
- Beginner’s Utensil Set
- Waterbath Canner, Chrome-Plated Rack & 4-Piece Utensil Set
- The Beginner’s Guide to Preserving Food at Home
- The Big Book of Preserving the Harvest: Recipes for Freezing, Canning, Drying and Pickling
- Preserving Summer’s Bounty: Freezing, Canning, and Preserving, and Drying What You Grow
- The Busy Person’s Guide to Preserving Food: Instructions for Freezing, Drying, and Canning


gramma use to can a lot of stuff,and the best was fig preserves…i need to start doing it too thank..
I would love very much to start preserving and canning food. Thank you for sharing all of your wonderful tips, ideas and information, So very helpful 🙂
I like freezing summer fruits & veggies for eating during the winter.
I love making dried apples, I never through away an over ripe apple. So easy to do. Helps to have a mandolin though! Thank you!